
Steps to Install Database
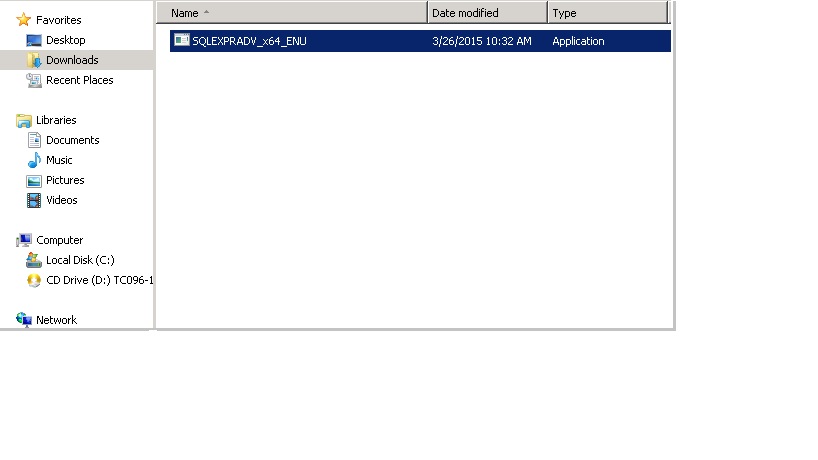
1.1 Go to the Download path and “Double click” it
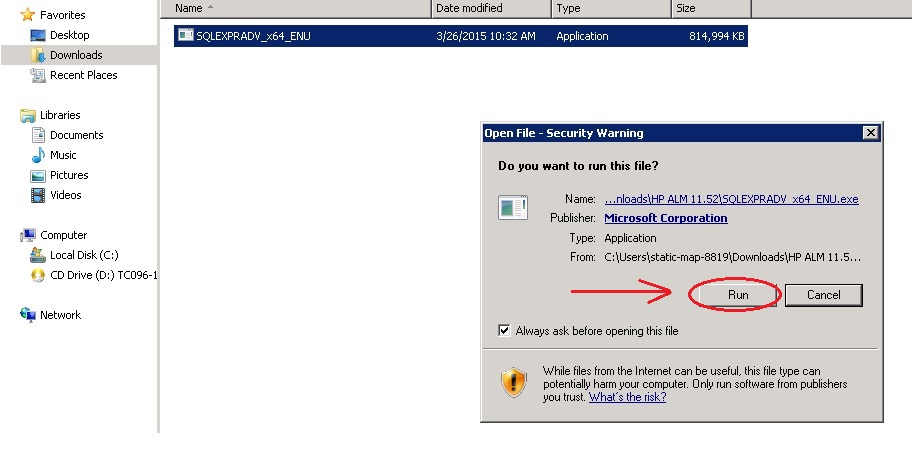
1.2 A Run window pops up (CLICK on Run)
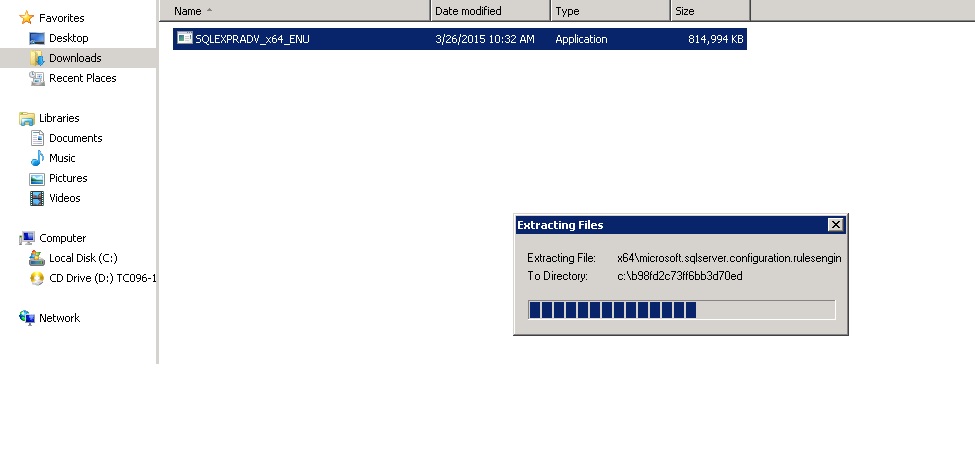
1.3 It will Start Extracting the file
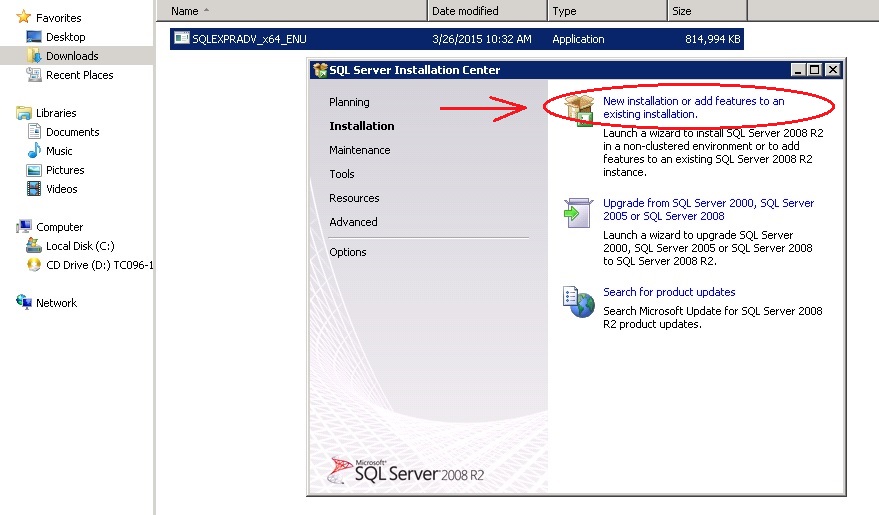
1.4 SQL Server Installation Center Window pop’s up, CLICK on “New Installation” as marked below
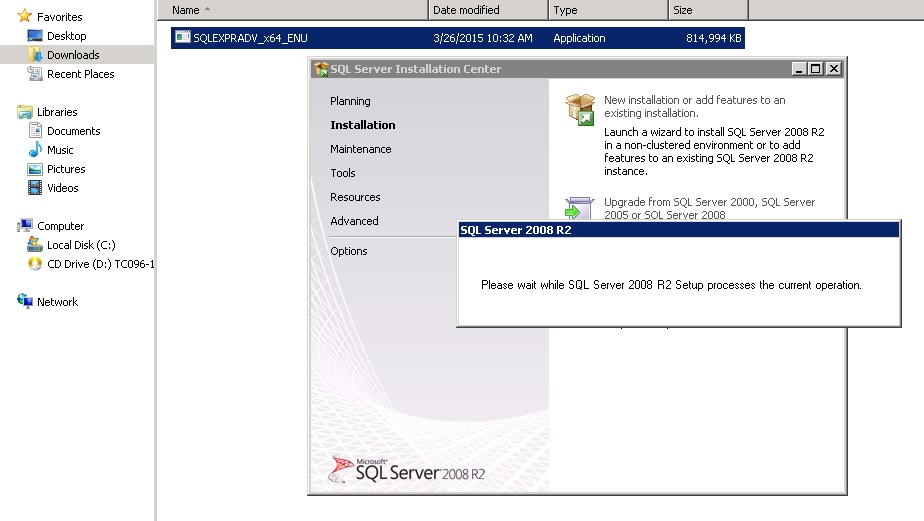
1.5 Now the Installation is getting started
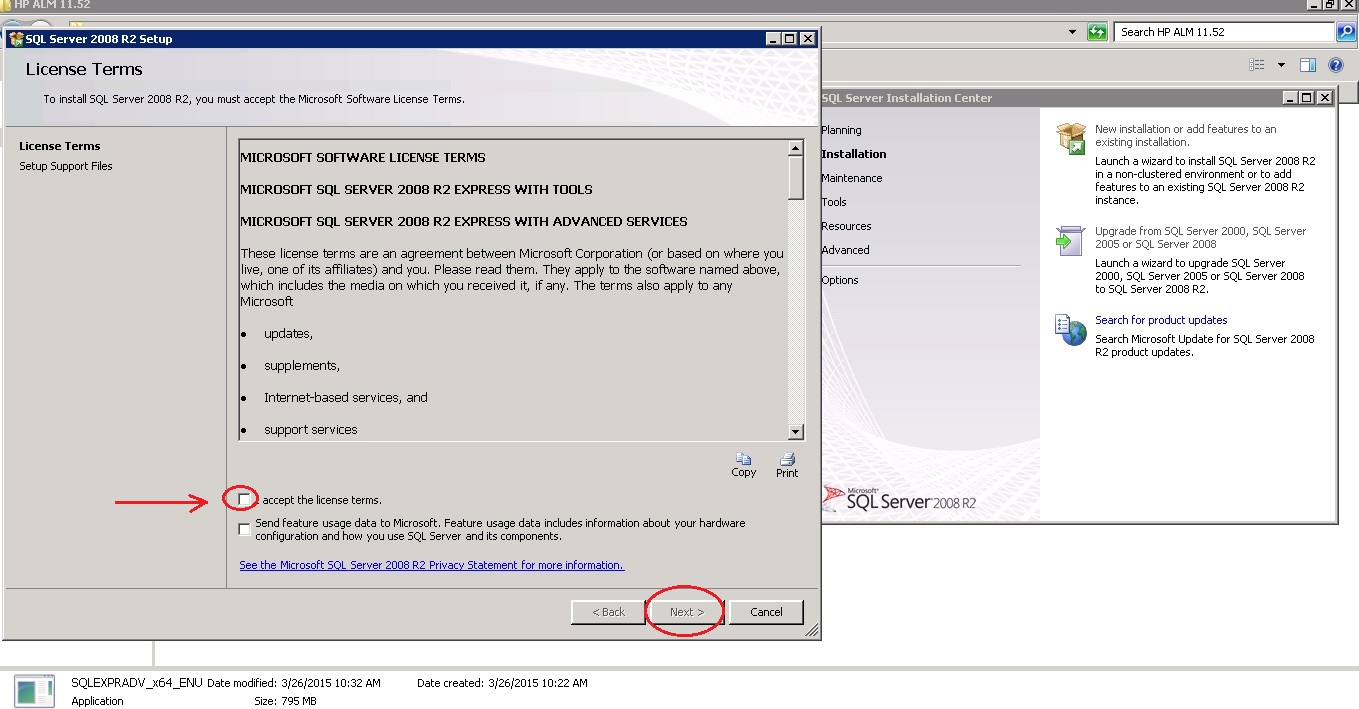
1.6 SQL Server SETUP window pops up, Accept the License term and CLICK “Next”
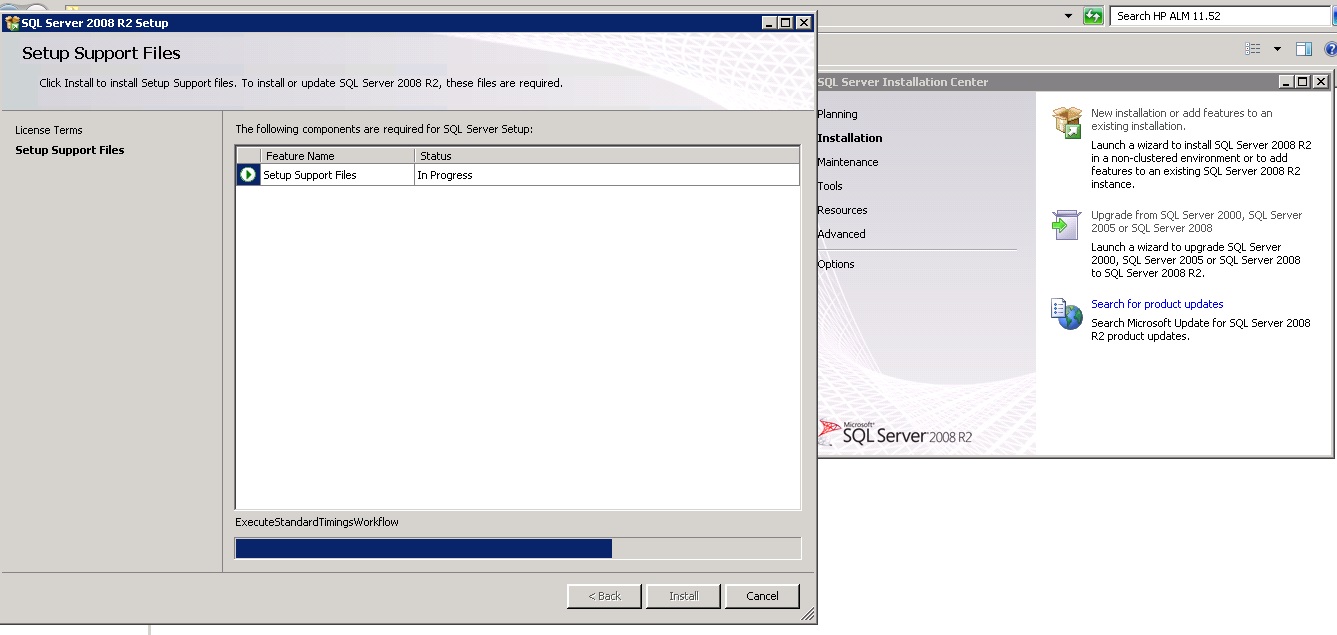
1.7 Setup will automatically check the Supported files, Wait until the “Feature Selection” window opens
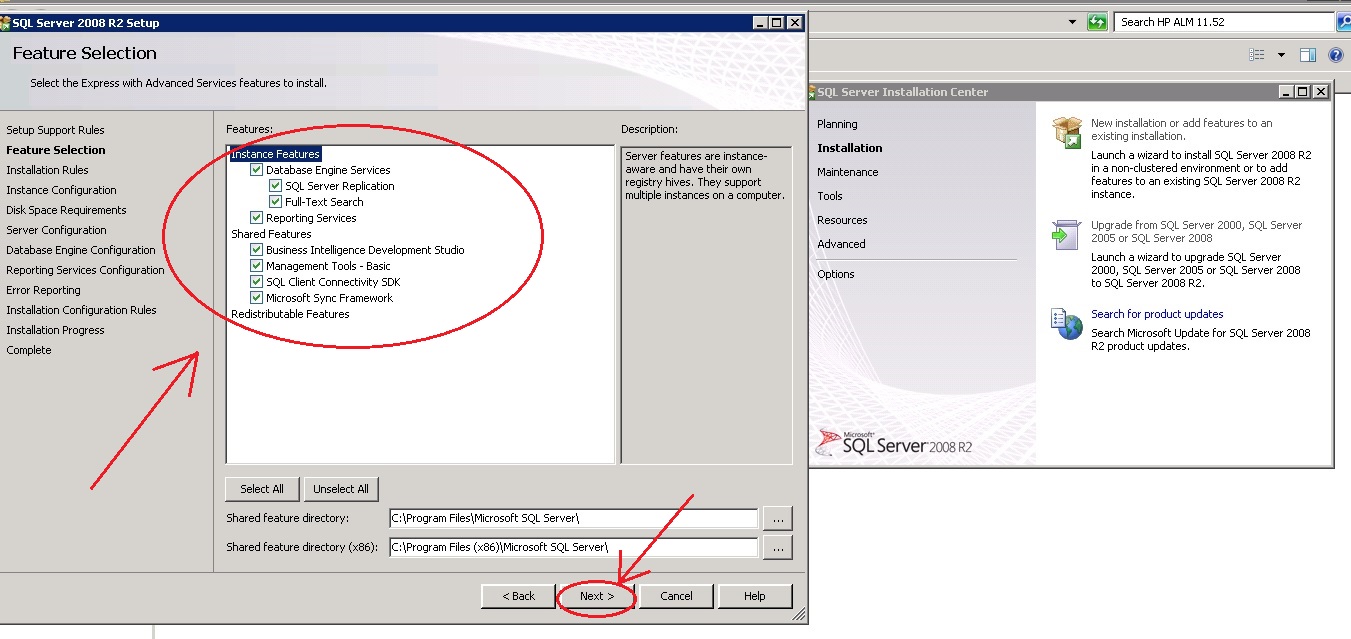
1.8 Now mark all the Features and CLICK “Next”
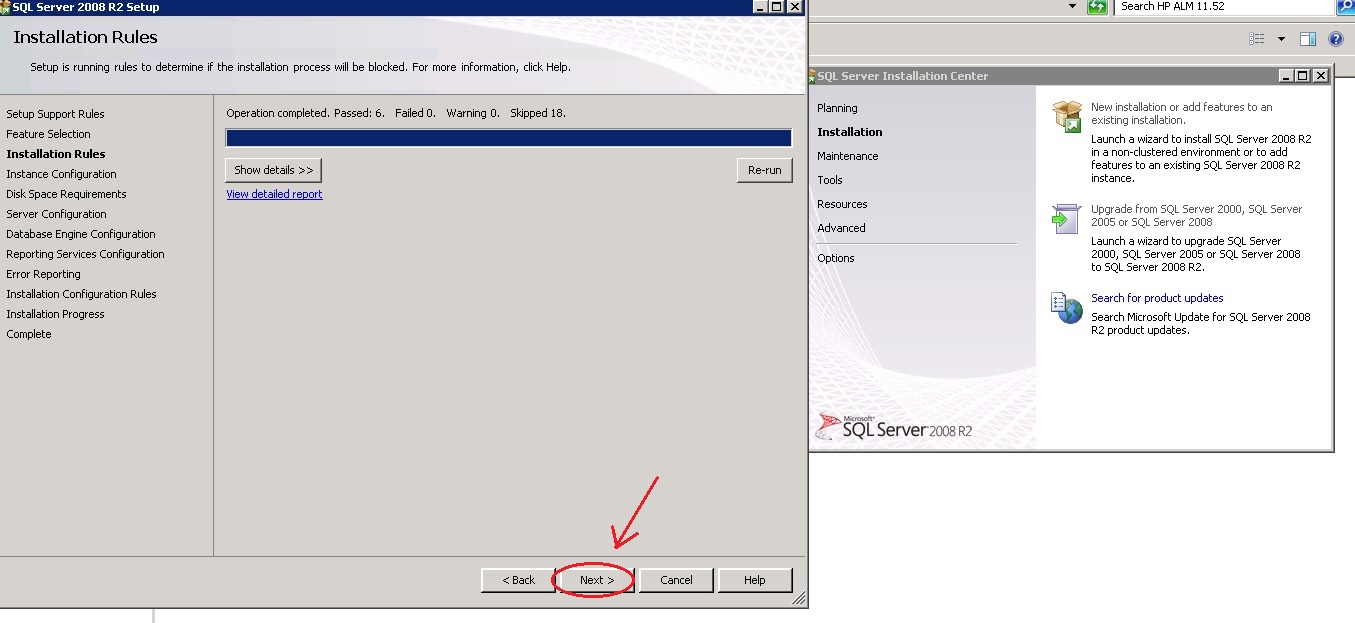
1.9 Wait for the Installation Rules and CLICK “Next”
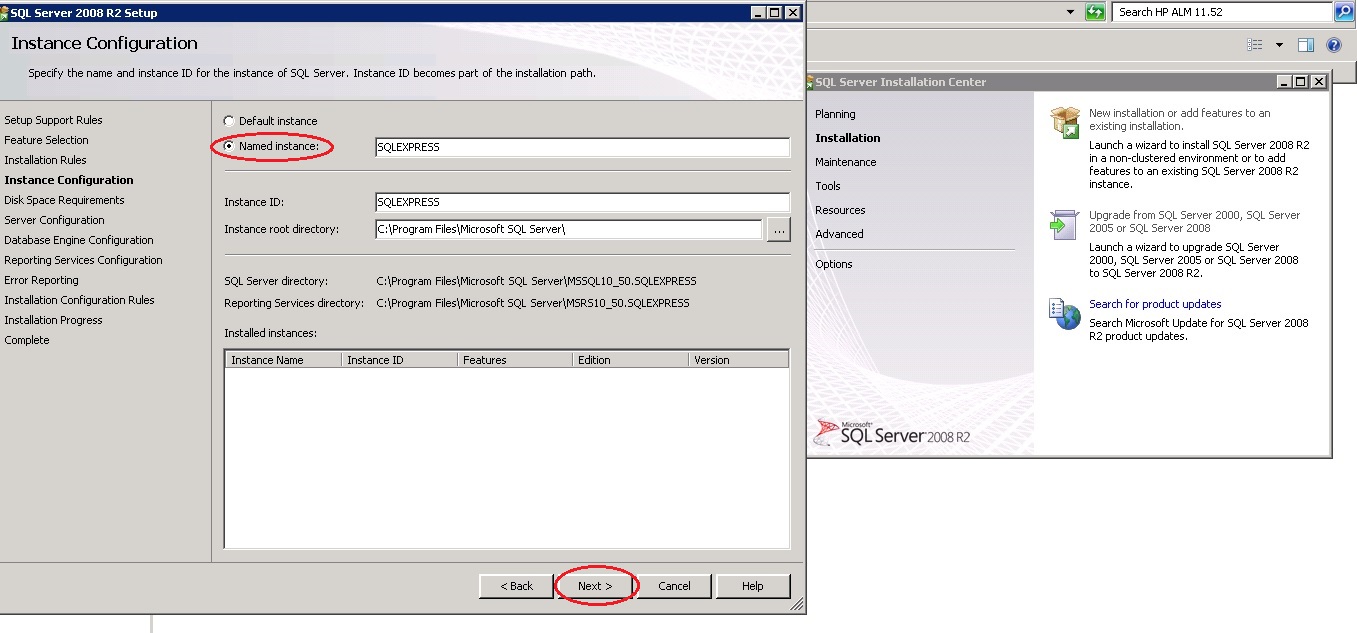
1.10 Select either Named Instance or Default Instance: For Named Instance type (SQLExpress) in the Named Instance and it will automatically show on the Instance ID and CLICK “Next”
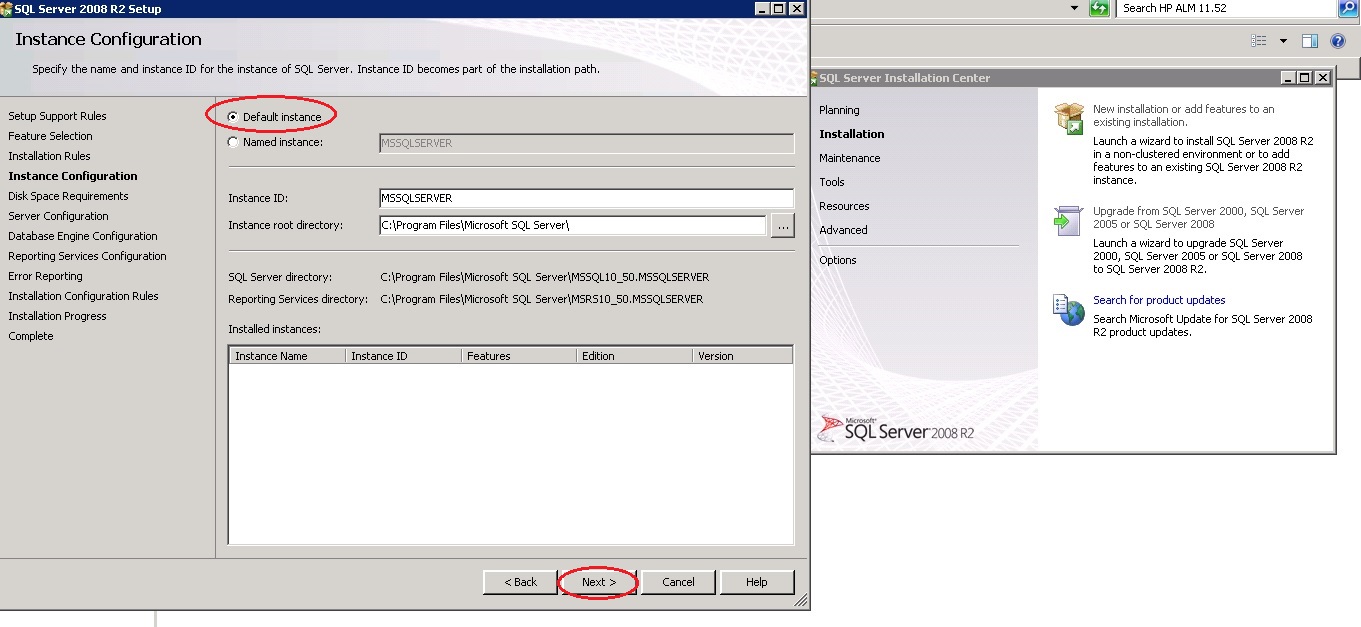
1.11 For Default Instance, you need to Select the (Default Instance) and directly CLICK “Next”
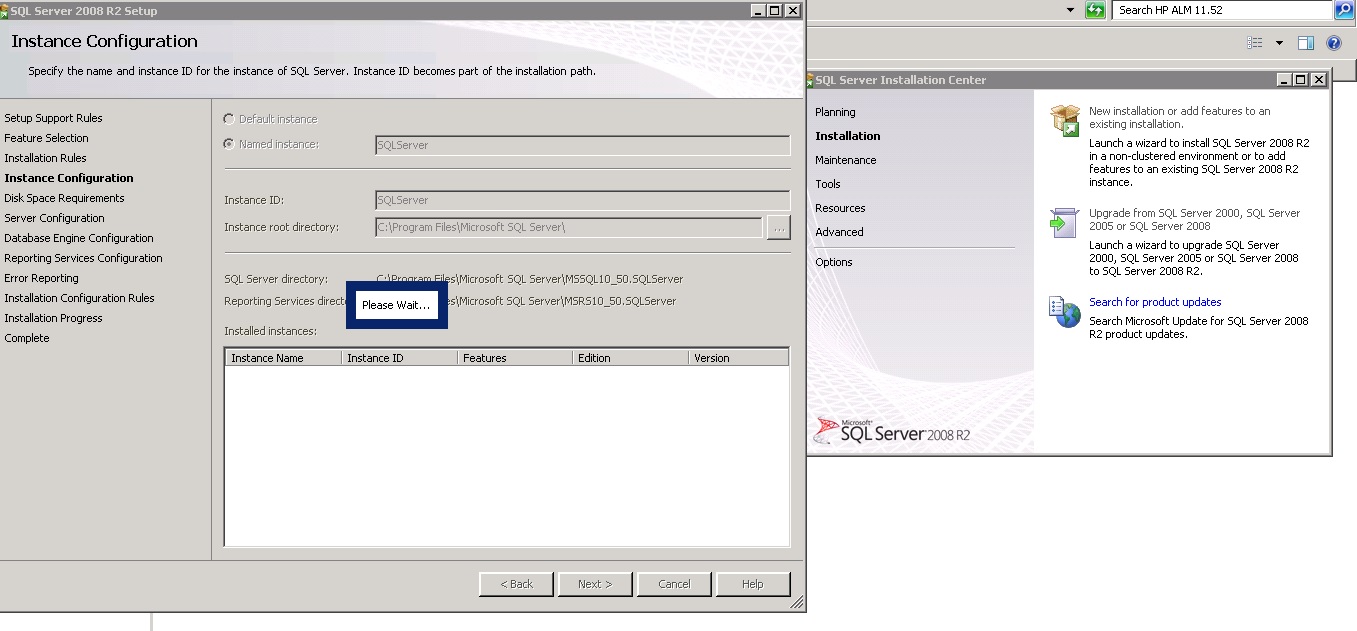
1.12 Now the Instance configuration is taking place so Wait for sometime
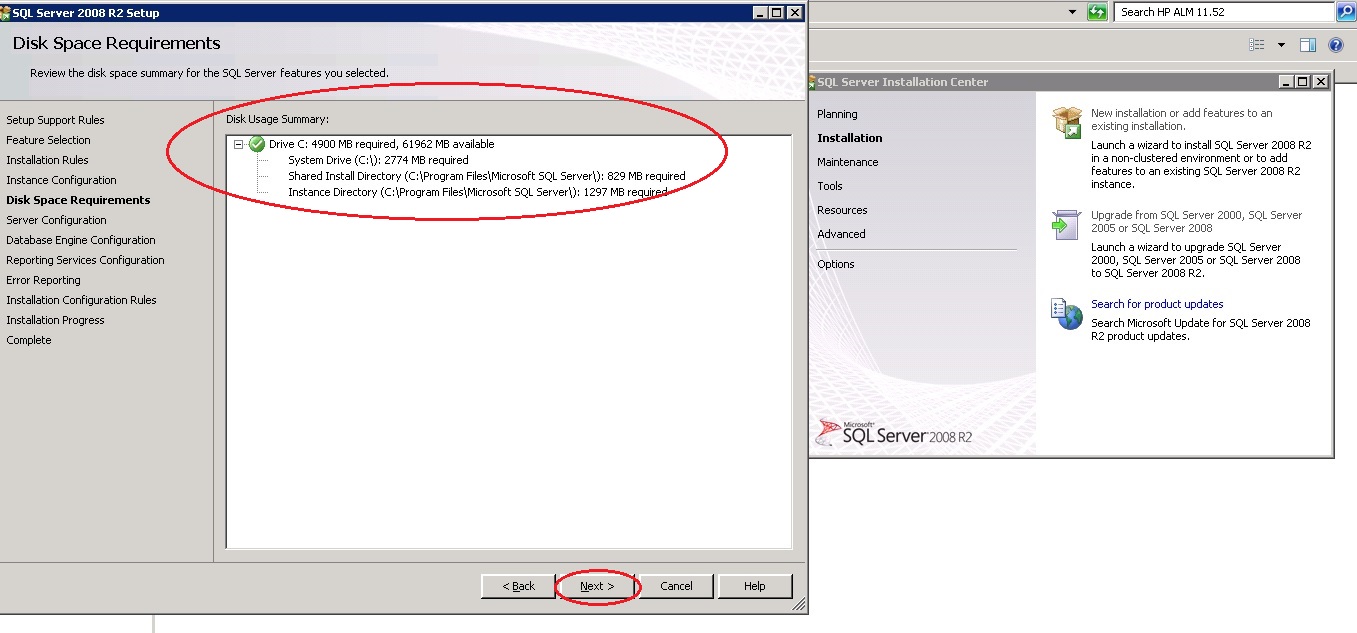
1.13 Review the Disk Space Summary and CLICK “Next”
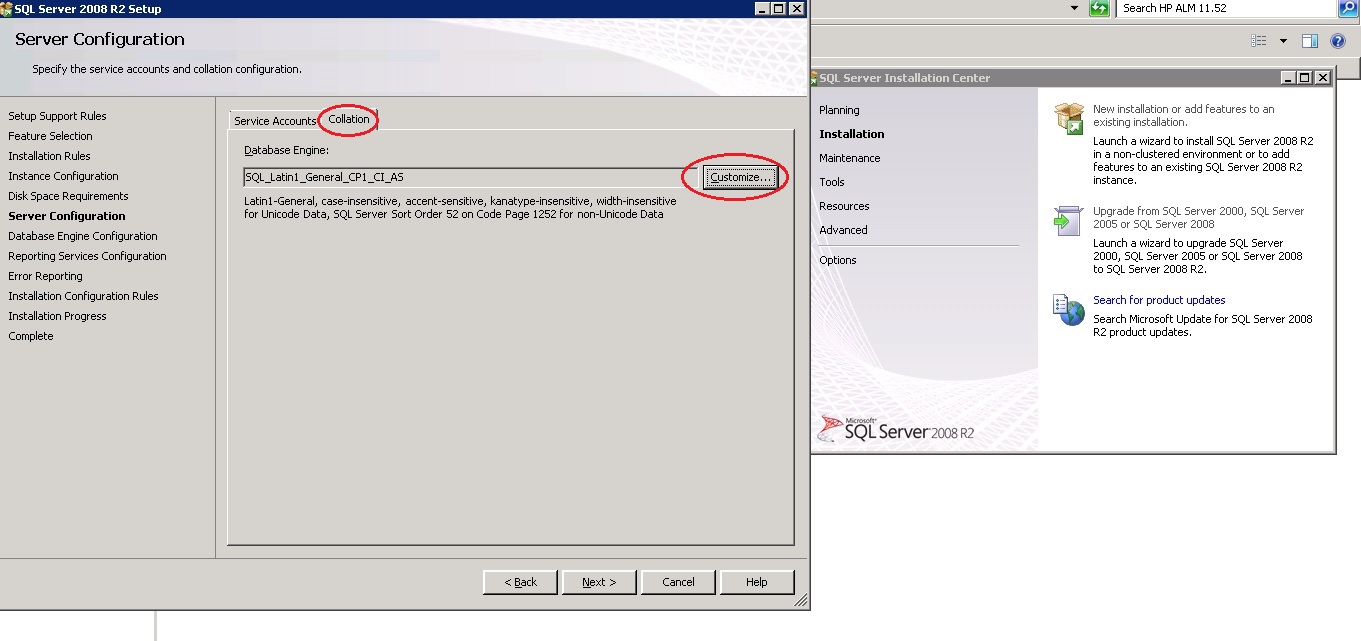
1.14 CLICK on “Collation” and customize as you want, besides it CLICK on Service accounts
1.15 Now specify the Service accounts as you want or you can leave it as a Default setting and CLICK “Next”

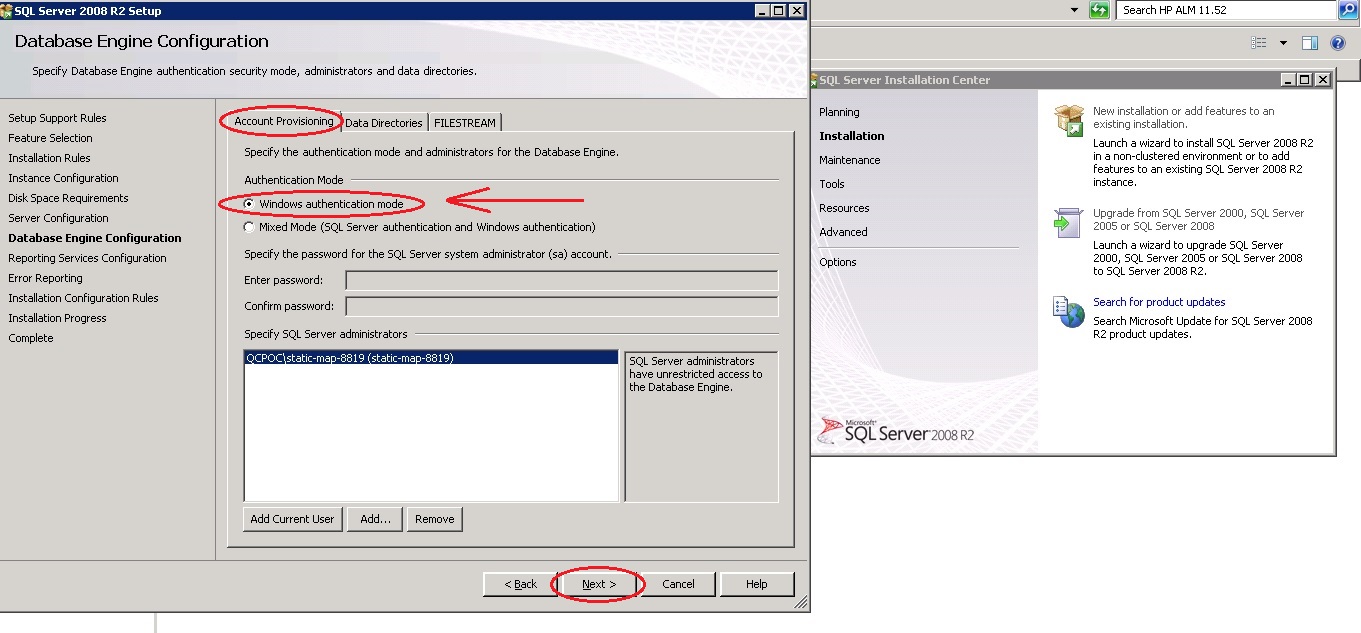
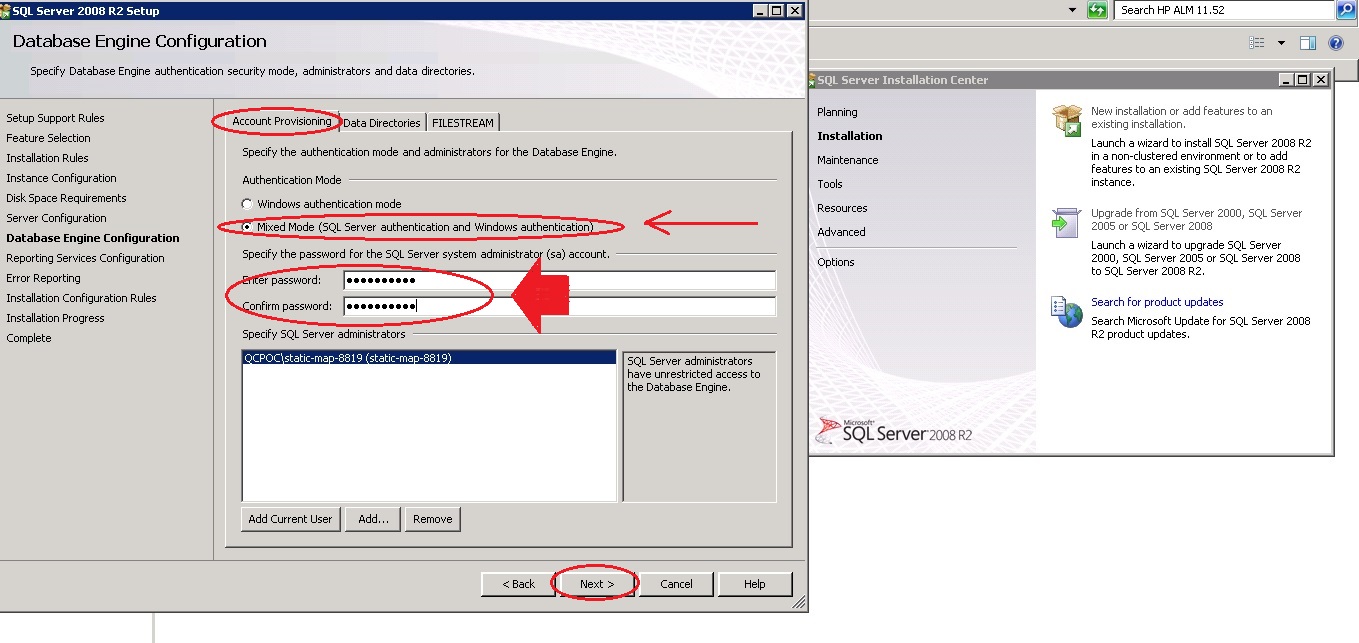
1.16 In Database Engine Configuration either CHOOSE (Windows Authentication) and CLICK “Next”
1.17 Or CHOOSE the Mixed Mode (SQL server and Windows Authentication)with a strong password (could be alpha numeric)
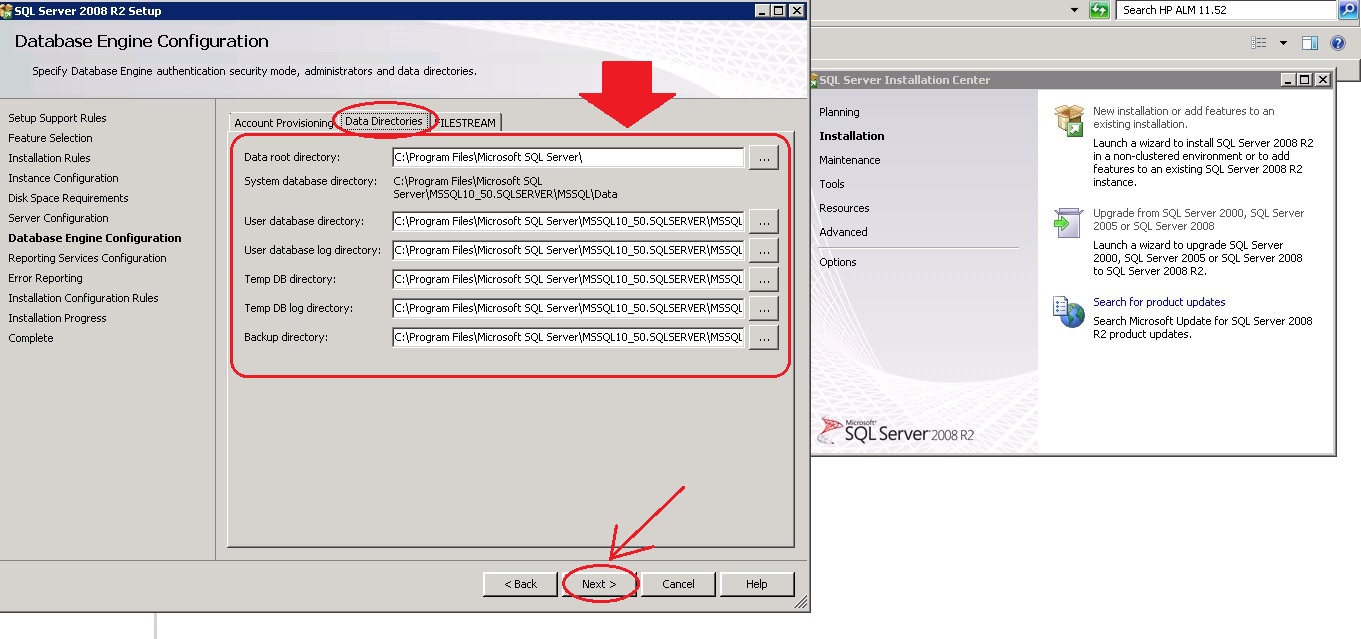
1.18 In the Same window you can also change the path of the (Data Directories) or leave it as a Default Path and CLICK “Next”
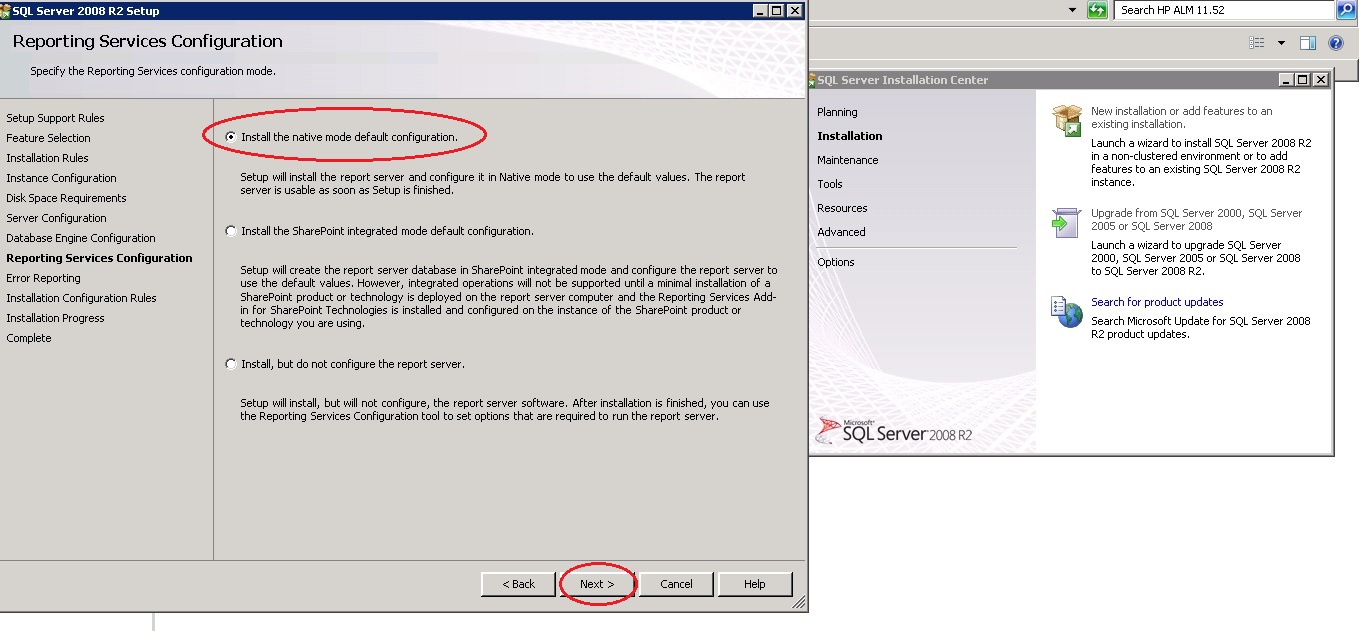
1.19 In Reporting Service Configuration Window CHOOSE (Install the Native mode default configuration) and CLICK “Next”
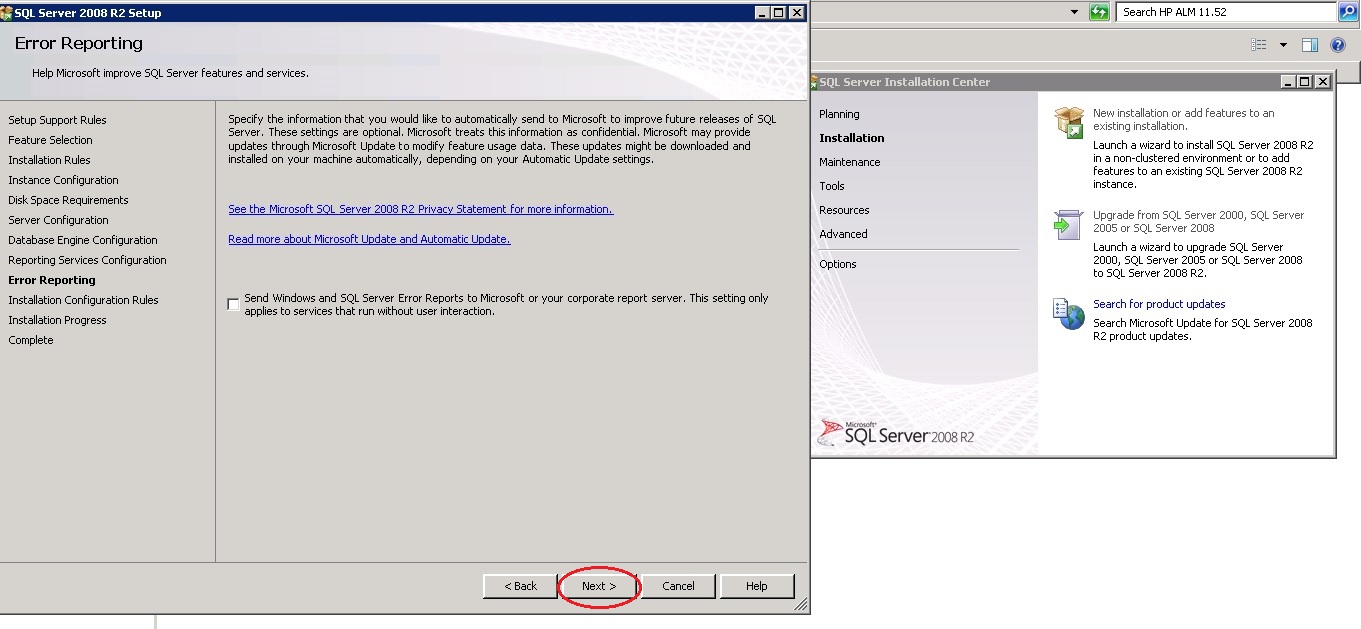
1.20 In Error Reporting no need to do anything simply CLICK “Next”
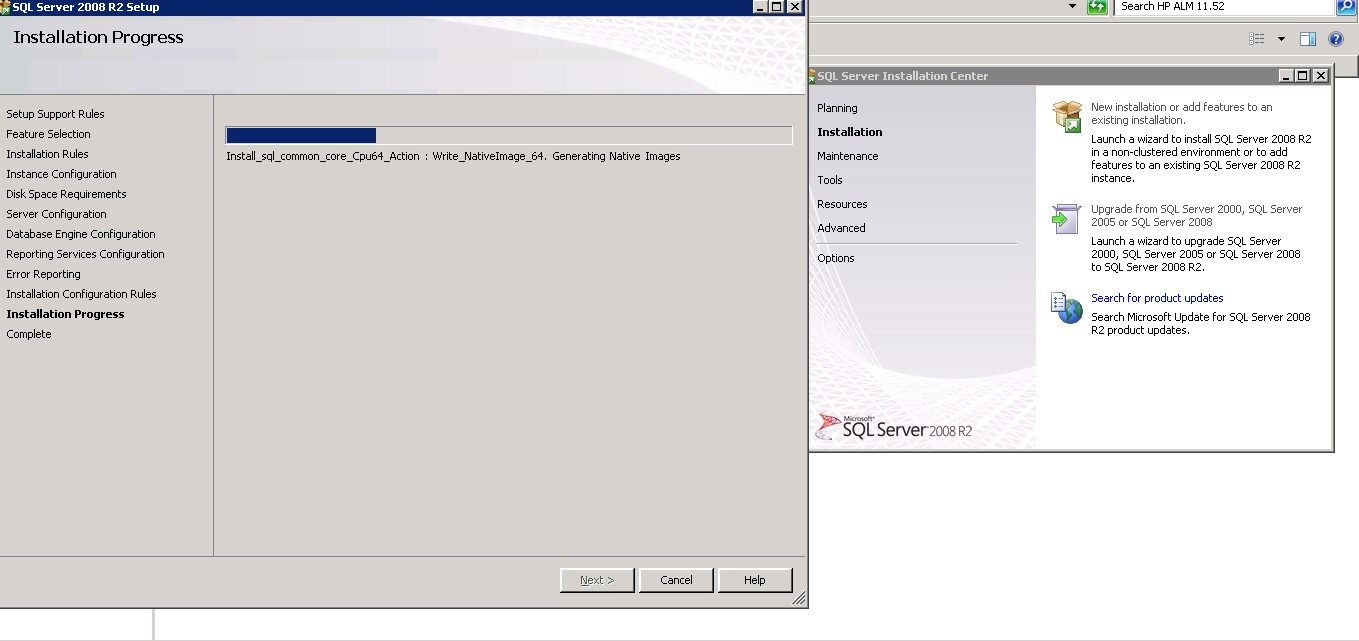
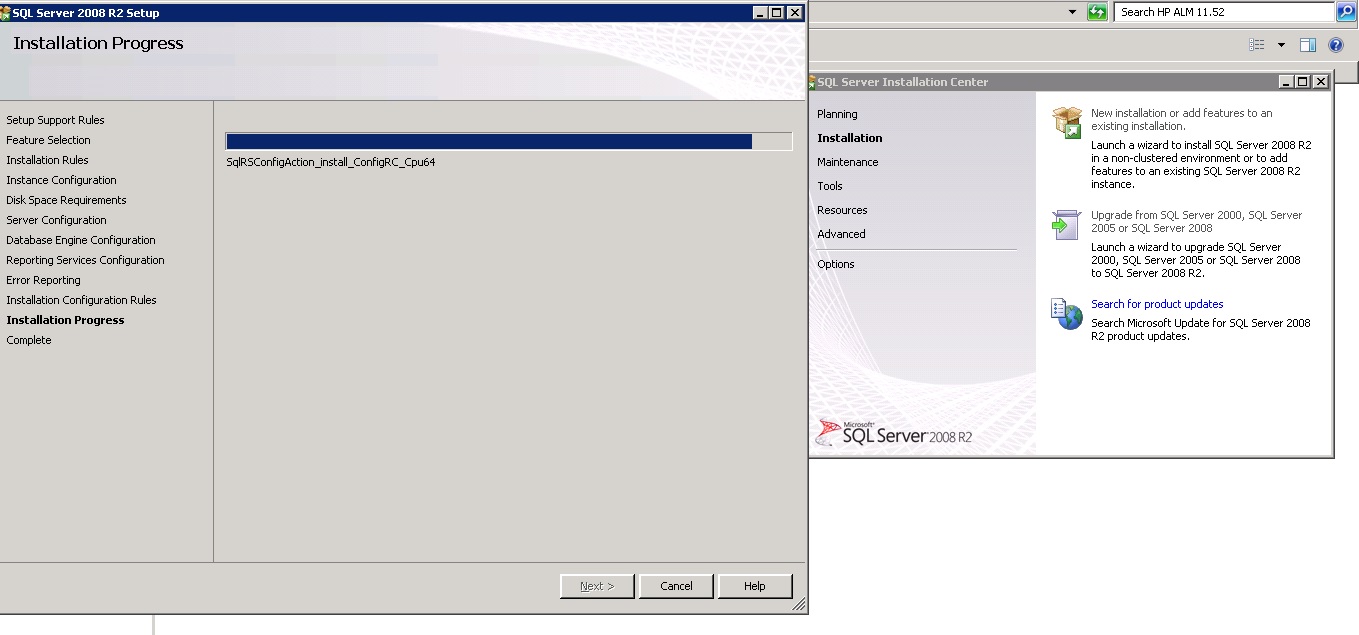
1.21 Please Wait while Installation is in Progress
1.22 In the last step if you the successful message below that means you have successfully installed the SQL server. Now CLICK on “Close”
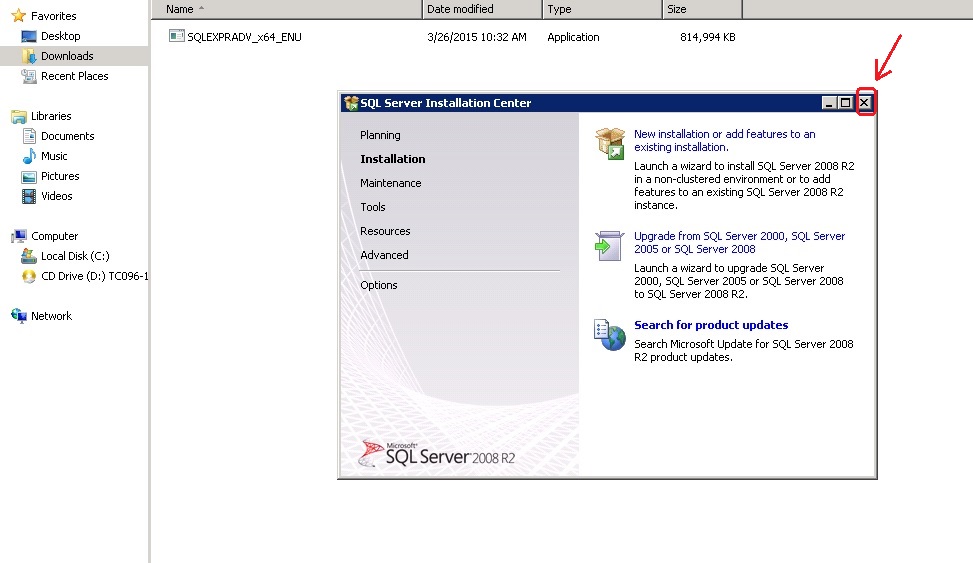
1.23 Now Close the SQL Server Installation window and immediately after closing you file find a error don’t worry just CLICK on “Quit” and you are done with the installation part

1.24 After Closing you will see Installation Window just CLOSE it as mentioned below
Leave A Comment